Since ancient times, verbena has had a reputation as a witchcraft herb. It was used to cleanse the body and home, they made amulets, with its help they attracted wealth and love, and women retained youth...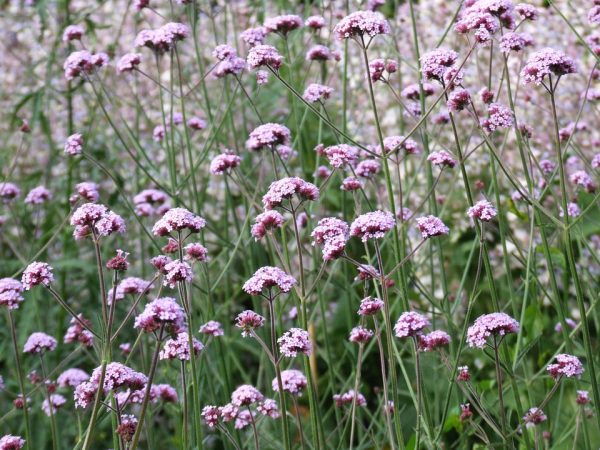
Is this really true? Easy to check. You just need to grow verbena in your own area.But in order to be completely sure of success, it is advisable to awaken the plant to life with your own hands. There is one reliable way to do this - growing verbena from seeds at home.
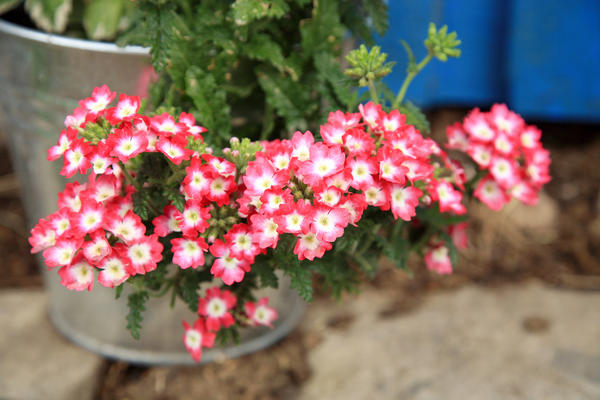
Whether the flower will become witchcraft, time will tell. But its beauty, unpretentiousness, vitality will bring a lot of positive emotions, and at the same time decorate and prolong your life.
Growing verbena seedlings
1. When to plant verbena
The vitality of verbena is already inherent in its seeds. Most varieties retain germination for up to five years. Of course, the energy of seeds fades with age, but there are proven methods in which even the laziest ones will germinate together. More on this later. In the meantime, information for the most hasty flower growers.
It is better to plant verbena in March.
Are you trying to get your verbena to bloom earlier than everyone else's? Please note that the flower has its own clear biorhythms. You should not plant it in January or February, you will only create unnecessary trouble for yourself.
The best sowing time is mid-March. At this time, seeds germinate easily, plants develop faster, and both winter and spring crops bloom almost simultaneously.
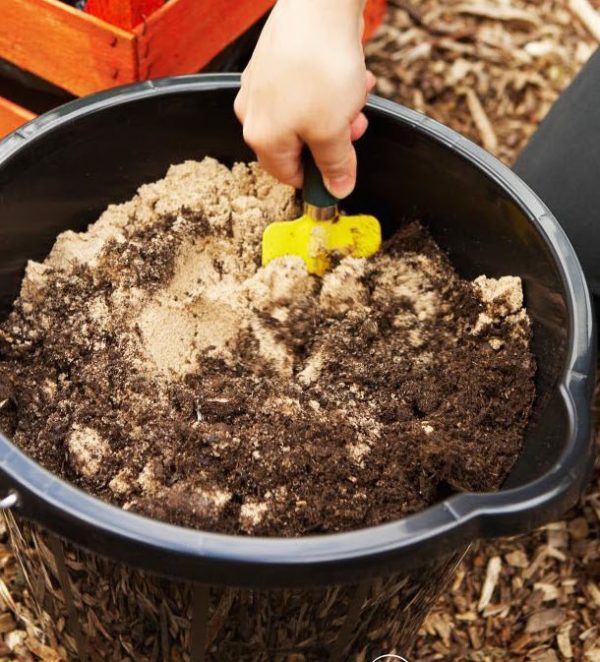
2. How to prepare the soil
Verbena seeds are completely undemanding to soil fertility. Main conditions:
- good water and breathability,
- neutral acidity,
- loose structure.
Can be used:
- ready soil for flowers,
- sand,
- prepare the soil mixture yourself (sand, soil, peat in a ratio of 0.5: 1: 2),
- perlite or vermiculite.
It is not necessary to subject the finished soil to additional processing. The sand needs to be poured with boiling water.
But you will have to work with your own homemade soil:
- The acidity of the soil is unknown, so it is worth adding some wood ash to the mixture to bring the acidity closer to neutral.
- Along with garden soil, weed seeds and pathogens will get into the mixture. To get rid of all these “charms”, the prepared mixture needs to be calcined in the oven. You can use solutions of fungicides (ABIGA-PIK, FUNDAZOL, FITOSPORINN, etc.). They will kill pathogen spores but are safe for weed seeds. However, at home it is easy to get rid of weeds manually.

Preparing the soil for sowing seeds
I would especially like to say about perlite and vermiculite. Both of these natural materials do not require special processing. When sown in perlite, seedlings rarely develop fungal diseases. Vermiculite also acts as a temperature stabilizer. It evens out the soil temperature. This is important if plants are exposed to frequent temperature changes. These materials can be used in their pure form, mixed with each other, and also as a component during the preparation of soil for sowing.
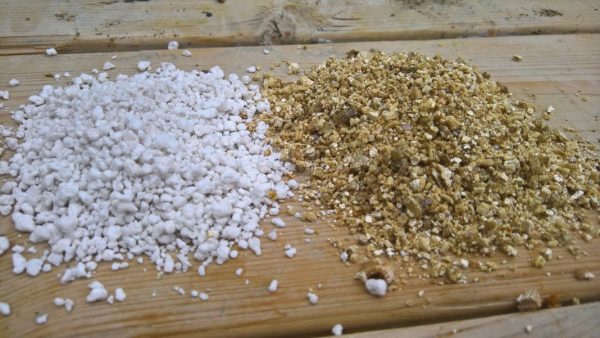
White - perlite, dark - vermiculite
3. Preparation and sowing of seeds
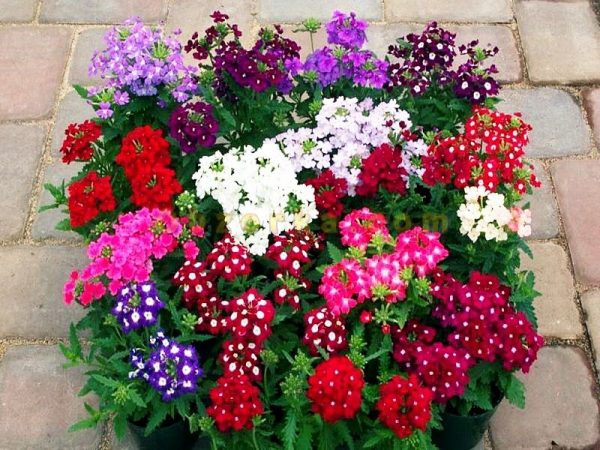
Verbena can reproduce by self-sowing. Its seeds can be collected and used, but the qualities of the mother plant may not be preserved. It is best to buy verbena seeds from manufacturers, especially since every year breeders delight us with more and more new specimens that meet a variety of needs.
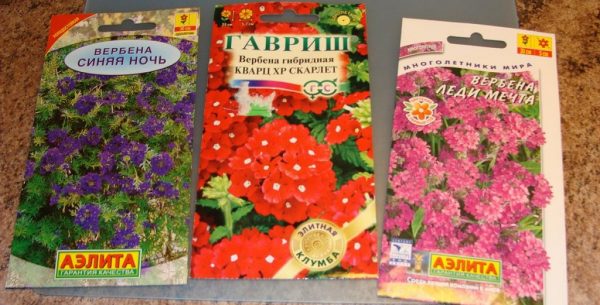
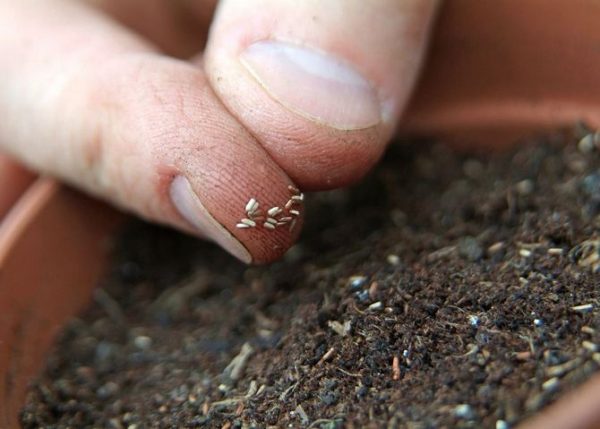
Verbena seeds.
The packaging usually tells you how to properly grow a particular variety. Do not miss this important information, as some varieties do not require embedding in the ground, but, on the contrary, germinate well when exposed to light.
Verbena seeds are very small, so there is no point in sowing each one separately.For sowing, you need to prepare as many containers as there are varieties of this flower purchased, and sow each variety in a separate container. During the growing process, seedlings will need picking. That’s when a separate container for each plant will come in handy. Cups with a capacity of 150 - 200 ml will be quite enough.
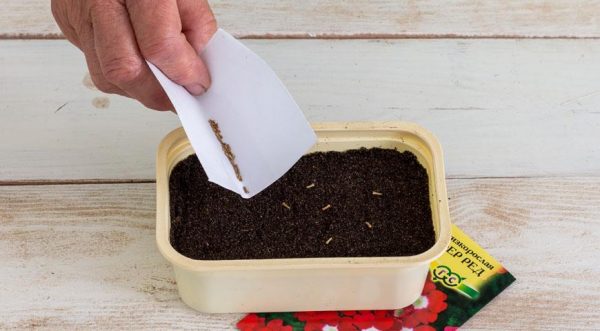
Sow the seeds in a container.
And now the promised secret techniques for growing verbena from seeds
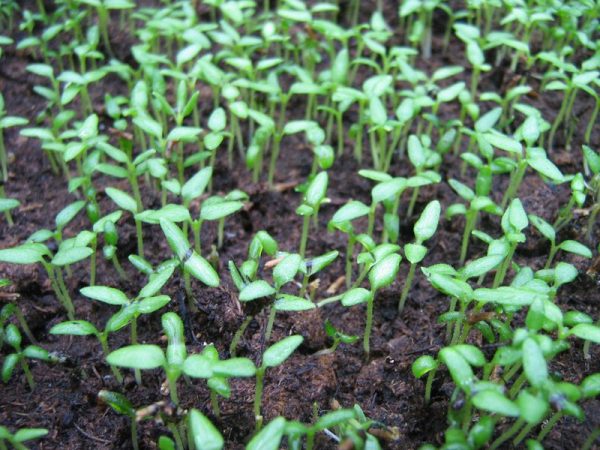
- Sowing should be done in warm soil and, after sowing, the container should be placed in a warm place. A sunny window will not work as the temperature will be lost on cloudy days and at night. The best thing is to place the containers on the radiator with a wooden cutting board or book underneath. In a couple of days the first shoots will appear. This is a signal to rearrange the containers on the window and, if necessary, add lighting. All verbenas easily tolerate cold, but are sensitive to lack of light. In 5-7 days, all the others will rise together.
- In some varieties, the seed coat is so dense that the sprouts cannot open it. You can help the situation by stratification. You need to scatter the seeds on a damp cloth, wrap them, place everything in a plastic bag and place it on the bottom shelf of the refrigerator for 4-5 days. During this time, the shell will soften, and the sprouts will be able to break it. Whether your verbena needs stratification will be indicated on the seed package.
- And one more extreme, but most effective way. It is suitable when there is no information about seed germination and you don’t know what to use, heat or cold?
Soak the purchased seeds in a pale pink solution of potassium permanganate for half an hour, then dry and sow in a container. Let it sit at room temperature for one day.We alternate the next three days: we place the container on the radiator during daylight hours, at night we place it in a bag and put it on the bottom shelf of the refrigerator. On the fourth day, the most curious ones begin to peek out. Immediately place the container under the lamp. Growing this way gives the most friendly shoots.
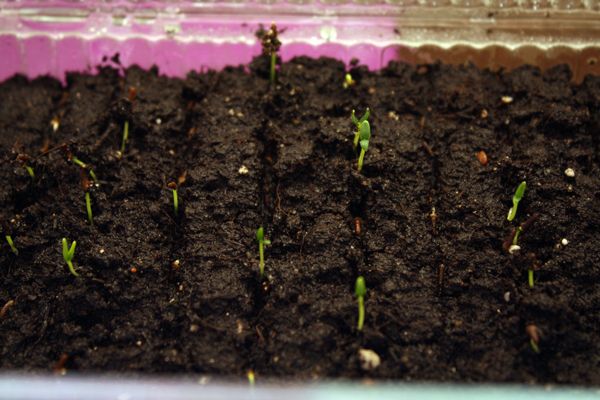
The first shoots appeared.
4. Choosing a place for seedlings
The sunniest window is for verbena. If your area does not have many sunny days, then the seedlings will need additional lighting.
Here, on the windowsill, one danger may await a young verbena. On cloudy days and at night, the cold coming from the glass significantly lowers the ground temperature, and this is a favorite situation for everyone "black legs" and similar diseases. Old unnecessary books that can be placed under containers will help. This will help bring the seedlings closer to the lamp, and the sprouts will not stretch due to lack of light.
Verbena seedlings will grow best in good light.
5. How to care
Basic care during this period growing seedlings is to provide enough light and regular watering. Verbena will indicate a lack of light with elongated pale sprouts. Watering should be moderate, without flooding or over-drying.
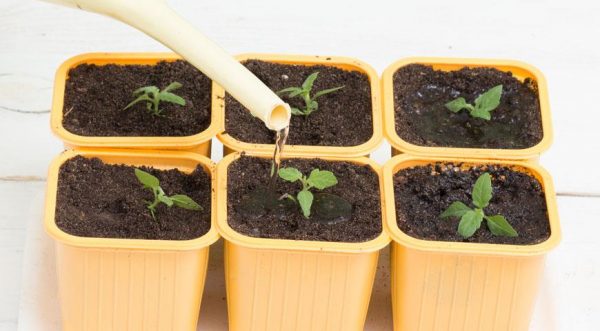
This is how verbena grows until 2–3 true leaves are formed, and then an important and responsible procedure awaits it – picking.
6. How to dive
For seedlings you need to prepare nutritious soil and cups of 150 - 200 ml. You can also put it in a common large box or container, but there are two reasons why you should refuse the “dormitory”:
- When planting in open ground, you will have to injure the roots again.
- There is no way to indicate the variety of verbena on each plant.
If the choice is still in favor of a common container, then it is necessary to maintain a planting interval of 4-5 cm.
You can use universal soil of neutral acidity or prepare it yourself using the method described above. In any case, you need to add complex mineral fertilizer at the rate of half a tablespoon per 3 liters of soil.
Before picking, the cups with soil and the container with seedlings should be well watered. This is necessary, since it is easier to isolate a sprout from damp soil without damaging the roots.
We place the selected verbena in a recess in a glass up to the cotyledons and lightly compact the soil around it. For greater reliability, you can add a little more water, but closer to the edge of the glass. With such careful transplantation, the plants take root well. Transplanted verbenas do not require high temperatures and frequent watering, but they should have enough light.
Seedlings after picking.
7. Care after picking
After a week, it is worth carrying out the first fertilizing with fertilizer. With high nitrogen content for increasing green mass. Further fertilizing is carried out every 10-14 days before planting in the ground, but the proportion of nitrogen in their composition should be less than potassium and phosphorus. This way we stimulate root growth, preparing plants for growing in open ground and abundant flowering.
Soon it will be necessary to pin the hanging specimens so that they branch out. We cut off the top of the sprout after the fifth true leaf, then new branches will appear from the side buds. Bush varieties grow without outside help.
It happens that the moment is missed, and the sprout of the ampelous verbena is too long. That's actually good. Let it grow 10 - 12 cm long, then you need to carefully cut it off from the mother plant and plant it in the ground.You can select a separate cup for these purposes and place several cuttings there. Verbena very good propagated by cuttings.
Ampel verbena
8. Seedlings are ready for planting in the ground
Verbena is planted in open ground after a consistently warm temperature has been established. Most often, this period begins in the second ten days of May.
By the time of planting, they are already lush, strong plants. Preliminary hardening with a decrease in temperature will further strengthen their immunity, and verbenas will practically not notice the transplant.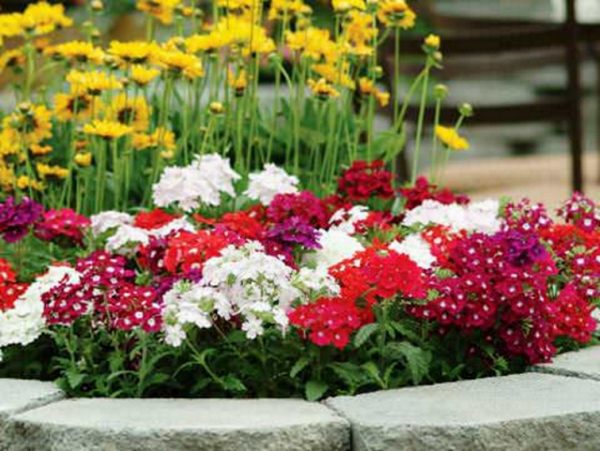
When grown from seeds, these flowers do not cause much trouble. They will grow in your garden without any problems, if you take into account some of their interests. But more on this in the next article.
Continuation of the topic:

 (9 ratings, average: 4,00 out of 5)
 CUCUMBERS NEVER GET SICK, I'VE BEEN USING ONLY THIS FOR 40 YEARS! I SHARE A SECRET WITH YOU, CUCUMBERS ARE LIKE THE PICTURE!
 You can dig a bucket of potatoes from each bush. Do you think these are fairy tales? Watch the video
 How our fellow gardeners work in Korea. There is a lot to learn and just fun to watch.
 Eye trainer. The author claims that with daily viewing, vision is restored. They don't charge money for views.
 A 3-ingredient cake recipe in 30 minutes is better than Napoleon. Simple and very tasty.
 Therapeutic exercises for cervical osteochondrosis. A complete set of exercises.
 Which indoor plants match your zodiac sign?
 What about them? Excursion to German dachas.
Thank you, very useful article. Overall a very useful site.
I have a question. In the spring in March-April we plant a lot of seedlings. All plants grow differently, so picking occurs at different times. And accordingly, feeding and so on are also done at different times. How not to get confused in all this, do you keep any notes?
Good afternoon, Tatyana. I am very glad that you liked my site. We also plant a lot of seedlings, but there are no special problems with feeding. We don’t keep records, we just combine watering with fertilizing. Once every 7-10 days, add half the dose of fertilizer to the water and water it.