Gladioli, like other bulbous plants, cannot tolerate prolonged cold with severe frosts, so every autumn they must be dug up and the bulbs sent for storage in more suitable conditions.At first glance, it may seem that this procedure does not require special skills and knowledge, but this is deeply misleading.
In order for these ceremonial flowers to delight their admirers again next year, everything needs to be done according to the rules. This article provides all the information about when and how to dig up bulbs, how to treat them and how to trim them, in what conditions to dry them and where it is best to store them.
| Content:
|
|
If the leaves of gladioli begin to turn yellow and dry out, then all the nutrients have already transferred to the bulbs and it’s time to dig them up for winter storage. |
When to start digging bulbs
It is necessary to dig up gladioli bulbs for storage 30-40 days after the end of flowering, when the leaves of the plant begin to wither and turn yellow. In the middle zone this usually happens at the end of September.
But the exact timing of autumn digging depends on many factors: on the variety of gladioli, on the duration and end of flowering, on the ripening of the bulbs, on the local climate and even on weather vagaries.
Basic requirements for choosing a day for this procedure:
- after flowering ends, thirty to forty-five days should pass;
- favorable air temperature should be between five and ten degrees Celsius;
- The aboveground part of the plants should begin to turn yellow, wither and dry out.
Attention! You cannot pick or trim the stems and leaves of gladioli until they die off on their own. All nutrients from the above-ground part are necessary for the bulbs to ripen.
In different regions, excavation dates occur at different times:
- in central Russia - in the second half of September;
- in a more severe climate with a short summer - at the end of August or beginning of September;
- in the southern regions - the second half of October.
Reference! Bulbs harvested too early do not have time to gain strength; they are unlikely to survive the winter, and may simply not begin flowering next season. Planting material left in the ground will most likely freeze and gradually begin to die.
In the cold northern regions, even early varieties of gladioli do not have time to ripen before the end of the warm period, so immediately after flowering the plants are removed along with a lump of earth, placed in a container and left until the bulbs ripen for approximately four to five weeks. Only after this is the bulbous material prepared for drying and further storage.
Interesting! In southern climates, where in the winter months the air temperature very rarely drops below zero, gladioli are not dug up in the fall. When the above-ground part turns completely yellow and dries, it is cut off to the base and the root part is insulated. First, apply a mulch layer of fallen leaves 10 to 20 centimeters thick, then cover with spruce branches or straw.
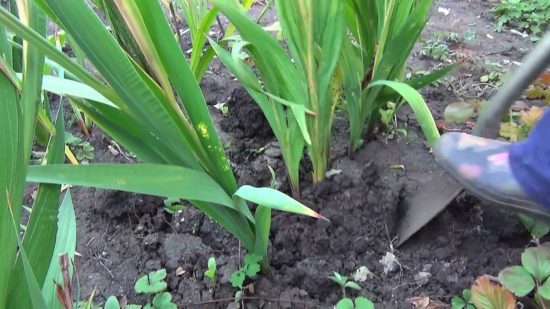
How to dig up gladioli correctly
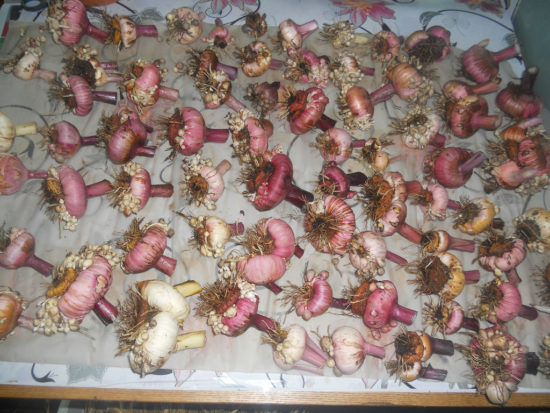
Gladioli must be dug up carefully so as not to damage the bulbs. To work, you will need gardening tools (forks or shovels, pruning shears or knives) and film or tarpaulin. It is necessary to retreat fifteen to twenty centimeters from each plant. After this, very carefully dig down from all sides and slowly pull the top of the bush until the root part appears on the surface.
Together with a lump of earth, the gladioli are laid out on prepared polyethylene or tarpaulin. When the soil dries a little, you can shake it off, trim the stems with a clean knife and remove all the bulbs.
|
To ensure that drying of the bulbs takes less time in the future, it is recommended to dig up gladioli on a warm sunny day. |
Important! After trimming the above-ground part, stumps from two to five centimeters high should remain.
This completes the first stage. But what to do with dug up gladioli?
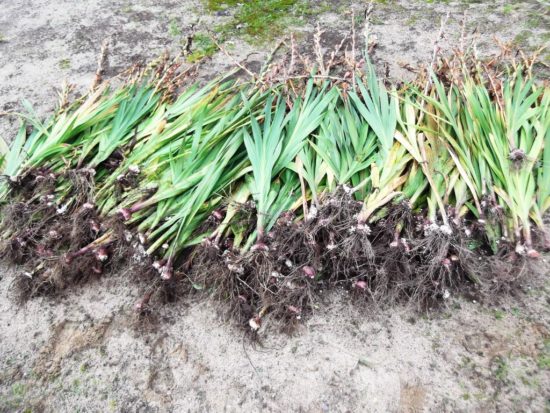
Onions removed from the ground must:
- Disinfect
- Trim
- Dry
- Send for winter storage
How and how to disinfect bulbs after digging
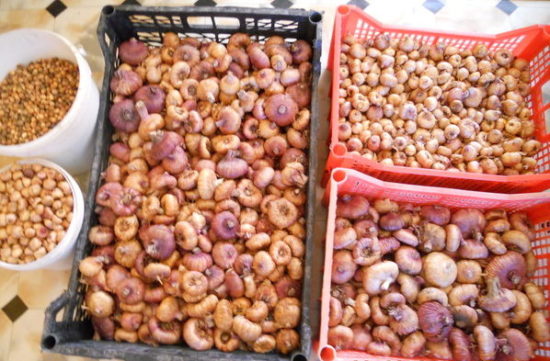
Clean bulbs with the above-ground part cut off must be sorted by size, variety and according to their state of “health”. Small defects on the surface can be cut off with a knife, and those eaten by pests or rotten should preferably be disposed of. All remaining specimens must be protected from various diseases; for this purpose, several stages of their disinfection are carried out.
|
Treatment with potassium permanganate solution |
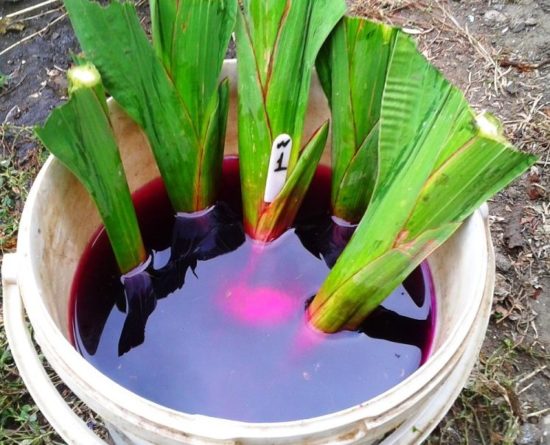
The first stage is to thoroughly wash each bulb with warm running water. The second is treatment with a weak solution of potassium permanganate. The next step is aging in a disinfecting solution based on special preparations.
Disinfection options:
- 30 – 40 minutes in a one percent solution of “Fundazol”;
- 15 minutes in a solution of five liters of water and 20 grams of Karbofos;
- from 30 to 40 minutes in a solution based on Iskra, Intavir, Hom, Maxim or Fitoverm;
- about half an hour in a solution of 4 liters of water and one tablespoon of Trichoderma;
- for an hour in a pink manganese solution;
- three to five minutes in hot water at a temperature of 45 to 50 degrees.
On a note! Those specimens on the surface of which defects were cut off with a knife are recommended to be immediately treated with brilliant green or a saturated solution of potassium permanganate.
How to trim bulbs correctly
|
Trimmed bulbs |
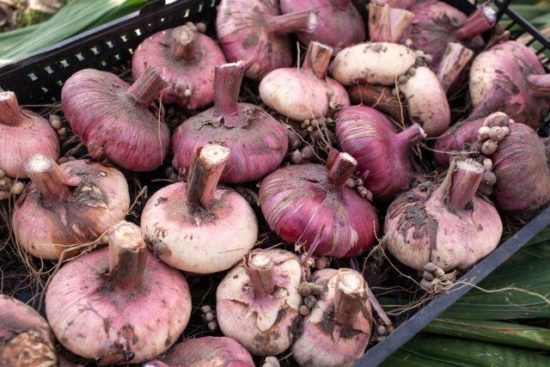
Stems and roots are cut off on the day the plants are dug up. The height of the stumps after pruning should not exceed five centimeters, since gladioli pests, thrips, often settle at the base of the stem. By leaving a taller stem, they have more opportunities to spread and the bulbs have less chance of surviving during winter storage. The roots on bulbs grown from children are significantly shortened, but not completely cut off. Full pruning should be done in the spring before planting.
Do not miss:
How to dry onions
Drying is a very important and responsible stage in preparing bulbs for storage. Only well-dried specimens will remain healthy and ready for planting until spring. If the bulb is not completely dried, this can lead to the development of fungal or bacterial diseases, and subsequently to the death of all planting material.
Important! It will take about one and a half to two months to completely and evenly dry the corms.
The drying process begins in the open air, or rather, under the sun. The corms are laid out on a spread cloth, in a well-ventilated area, in dry and sunny weather. At night, planting material is brought indoors. Drying in the open air lasts three to four days.
|
All material should be kept indoors at a temperature of about twenty-five degrees for fifteen to twenty days. |
The next step is to place the bulbs in cardboard boxes or plastic boxes with holes for ventilation.
Attention! To dry the bulbs evenly, it is necessary to turn them over periodically, about once a day. If rotting or damage is detected on the surface of the bulb, immediately isolate it from the rest.
The final stage is drying the planting material at a temperature of eighteen to twenty degrees for two to three weeks.
Well-dried specimens need to be cleared of scales.
What to do with the “kids”
Unlike large adult bulbs, “babies” tolerate winter more easily, are well preserved and come to spring planting healthy and strong, with 100% germination in the future.
|
After digging, the “babies” are separated from the mother bulbs, cleared of soil, washed under running water and sorted. |
All copies must be carefully inspected. It is better to leave the largest ones - with a diameter of more than two and a half to three centimeters, they are the most viable. Children measuring less than two and a half centimeters in diameter, as well as weakened ones, are best kept separately from everyone else. Bulbs with damaged shells, cracks or signs of disease are immediately removed.
To detect empty “babies,” planting material is placed in a container of water. The unsuitable ones will immediately float to the surface. After disinfecting procedures, all selected “babies” are laid out on cotton cloth or thick paper to dry.
The bulbs are left to dry for three weeks in a room with good ventilation, at a temperature of twenty-five to twenty-seven degrees. After this, the planting material can be transferred to a permanent storage location.It is recommended to store “babies” at a temperature of three to eight degrees Celsius, with full air circulation and moderate humidity. Regular preventive examinations approximately once or twice a month will not be superfluous.
Storing gladioli in winter
Containers for storing corms can be vegetable wooden boxes, plastic containers, boxes made of thick cardboard, but always with holes. You can also use small mesh sizes.
|
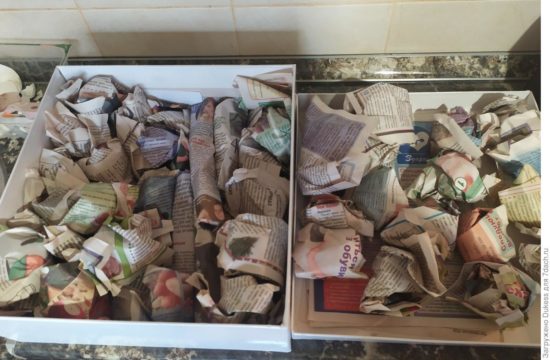
Planting material is laid out in one layer tightly to each other (for example, in sand, sawdust) or in two to three layers, but wrapping each bulb in newspaper or other thin paper. |
Don't forget to read:
- In the basement Tubers must be stored at a great distance from fruits and vegetables, as they release a large amount of moisture and mold may appear on the bulbs. The optimal temperature for adult tubers is 5 - 8 degrees Celsius, the humidity level is about seventy percent, for children - about 2-4 degrees and up to ninety percent.
- In the apartment There are many favorable places for storage - a glazed balcony or loggia, an ordinary window sill, a container for vegetables in the refrigerator, or just the bottom shelf.
- In the trench in a country house or garden, tubers in small containers, sprinkled with sawdust, are placed at a shallow depth, crushed on top with a thick layer of fallen leaves, then with plastic wrap. All this is covered with earth in the form of a small mound so that rain and melt water does not stagnate. The only drawback of such storage is the lack of ventilation and the ability to control the condition of the bulbs in winter.
Timely digging of gladioli in the fall is the receipt and preparation of high-quality planting material, and also the key to future full growth and gorgeous flowering.

 CUCUMBERS NEVER GET SICK, I'VE BEEN USING ONLY THIS FOR 40 YEARS! I SHARE A SECRET WITH YOU, CUCUMBERS ARE LIKE THE PICTURE!
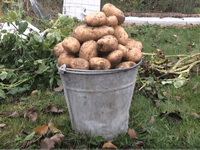 You can dig a bucket of potatoes from each bush. Do you think these are fairy tales? Watch the video
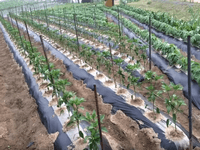 How our fellow gardeners work in Korea. There is a lot to learn and just fun to watch.
 Eye trainer. The author claims that with daily viewing, vision is restored. They don't charge money for views.
 A 3-ingredient cake recipe in 30 minutes is better than Napoleon. Simple and very tasty.
 Therapeutic exercises for cervical osteochondrosis. A complete set of exercises.
 Which indoor plants match your zodiac sign?
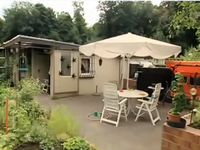 What about them? Excursion to German dachas.