Preparing clematis for winter includes two main and rather difficult activities for beginners.
- Bush pruning.
- Covering plants.
Pruning is probably the most difficult and incomprehensible task for beginning clematis growers. But in fact, everything is simple here!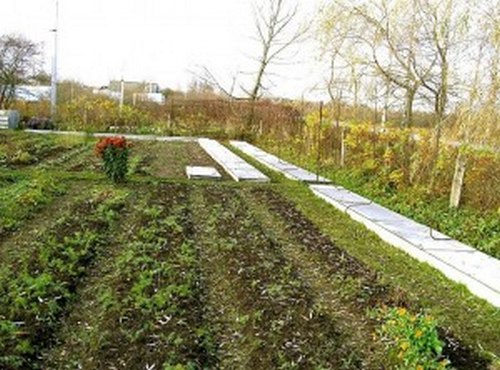
Pruning clematis for the winter
It will, of course, be very good if you know which pruning group your clematis belongs to. But even if you don’t know, it doesn’t matter, now we’ll figure it out.Let's start from the beginning.
When to prune clematis for the winter. Depending on where you live, pruning is carried out either at the end of October or at the beginning of November. Try to make it while the weather is good. This is quite a painstaking task and doing it in the rain will be extremely unpleasant.
| How to prune clematis in the first year after planting. In the first year of life, preparing plants for winter is quite simple. The first pruning is the same for all varieties of clematis. Leave a shoot 20 - 30 cm high (2 - 3 buds), and cut off the rest. Such short pruning will provoke the development of side shoots next year. |  |
| Pruning clematis of the first group. If clematis begins to bloom in the spring on old shoots from last year, then it belongs to the first group of pruning. Such plants can have long shoots up to two meters high. The tops of the shoots are mainly trimmed, adjusting the height of the bush to the size of the trellis. In addition, remove dry, broken and simply “extra” shoots. |  |
| Pruning clematis of the second group. Clematis, which blooms twice a year, once on old and then on young shoots, belongs to the second group. Such plants are cut somewhat shorter. The shoots are left 1.2 - 1.5 m high. Dry, broken, etc. are also rejected. | 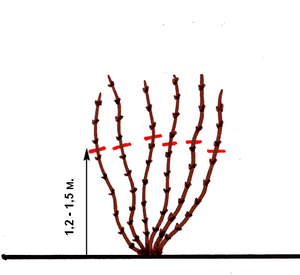 |
| Pruning clematis of the third group. Clematis of this group bloom only on young shoots that grow in the spring. Therefore, we don’t need last year’s shoots. When pruning such plants for the winter, cut off all shoots at the level of 2 - 3 buds from the ground. | 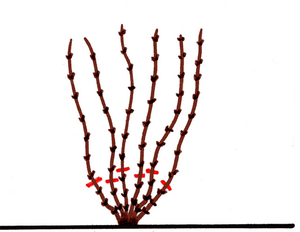 |
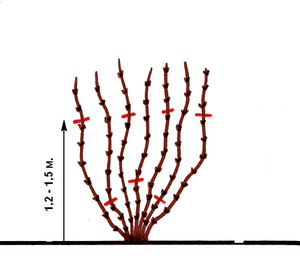
| Universal pruning. When preparing clematis for winter, you can also use combined pruning. Some gardeners use this pruning method for all varieties.Especially if they don’t know, and don’t want to know, which group the bushes growing in them belong to. In this case, the shoots are cut off, so to speak “every other”. One is left up to 1.5 m high, the other for 2 - 4 buds, etc. This method has its advantages.
|
 |
- There is a gradual rejuvenation of the bushes, which is still recommended to be done sooner or later.
- Clematis has 2 groups; during the second flowering, the flowers are located evenly throughout the bush. After all, if all the shoots are cut at a height of 1.5 m, then the first flowering will be below this level, and the second above.
Of course, in the garden everything will not be as simple as shown in the pictures, but it will not be as complicated as it might seem at first.
Removing clematis from its support
It can be very difficult to remove an old, and even neglected, bush from its support. To make this task easier, in the spring you need to tie the shoots to the trellis on only one side. Under no circumstances should you weave shoots between the trellis rods. Over the summer they will grow and become entangled so that in the fall it will be impossible to remove them without breaking them.
In the photo below you see an old, overgrown clematis bush from the second pruning group.
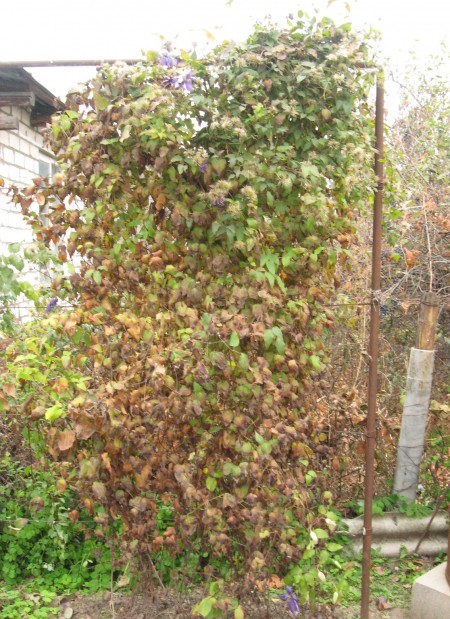
This bush needs to be removed from its support.
A novice clematis grower's hair will probably stand on end at the thought that he will now have to untangle these thickets. It's actually simple.

The upper part of the plant can be used as a “pillow”.
We cut off all shoots at a height of 1.5 meters above the ground.
If you tied the vines to one side of the trellis in the spring, then no problems should arise.
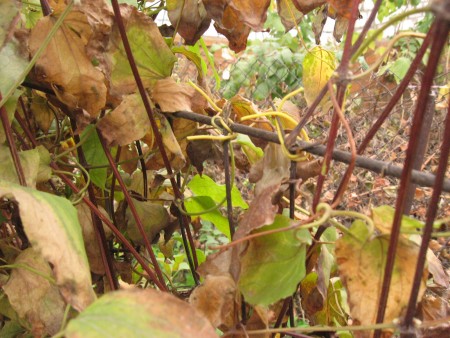
We untie all the wires or strings that were used to tie the plant to the support rods.

Scissors are the main tool for this type of work.
Using scissors, we cut off all the leaves that the plant holds onto the twigs.
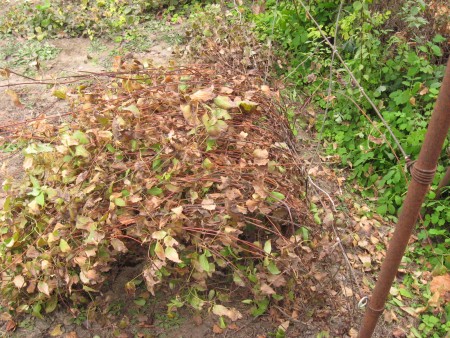
After the strings were removed and the leaves were trimmed, the plant easily separated from the trellis.
That's it, all this took no more than 20 minutes. Of course, in the spring we will still have to tinker here. Cut out all the broken vines, and just thin out the bush thoroughly. To do this, you will have to cut off all the leaves with scissors and distribute the best shoots evenly and beautifully on the trellis. But it will be in the spring...
Now you can move on to the next stage of preparing clematis for wintering.
How to cover clematis for the winter
There are different ways to cover clematis for the winter. You just need to try to ensure that the shelter protects not only from cold, but also from dampness and is not excessive. Clematis is a completely frost-resistant plant and there is no need to insulate it beyond measure.
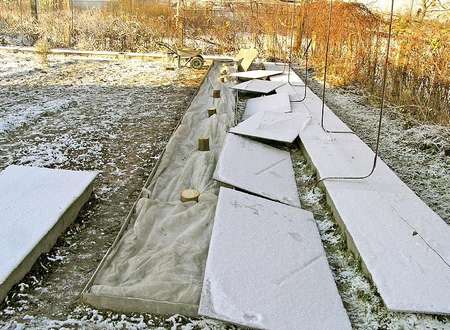
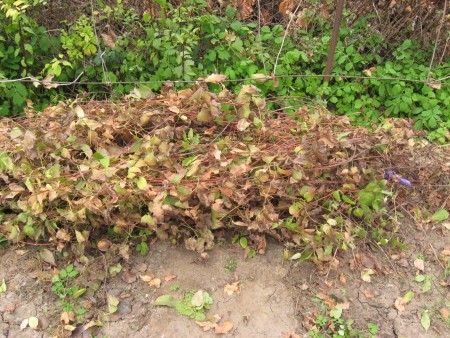
These plants are already ready for winter
First of all, you need to make sure that the clematis is not flooded with water during thaws. To do this, you should pour 1 - 2 buckets of humus or just soil under the bush so that a mound is formed and the roots will not get wet.
The shoots should not be laid on bare ground, but on some kind of “pillow”. Boards, branches, and cut shoots of the same clematis are usually used as a pillow. I most often pour pine needles for this purpose. All kinds of rodents like to spend the winter in dry places, but the needles are prickly and mice don’t like it. But in the spring the needles must be removed, they are very
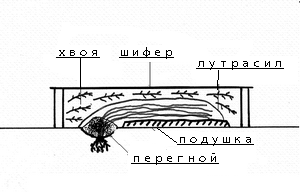
Shelter scheme for clematis for the winter
acidifies the soil, and clematis itself categorically does not like this.
For covering it is convenient to use lutrasil or any other covering material. Wrap the prepared, trimmed shoots with lutrasil, lay them on pine needles and cover them with leaves and spruce branches. All this on top must also be covered with pieces of slate.
All gardeners always have a lot of old film on hand. I really want to use this film to cover wintering flowers. It can of course be used, but with some reservations.
- It is necessary to leave ventilation on both sides. Without ventilation, the shoots will, at best, become moldy.
- The film on top needs to be shaded with something else. Otherwise in the clear. On sunny days, the temperature under the film will rise sharply and drop at night. No plant will like such changes.

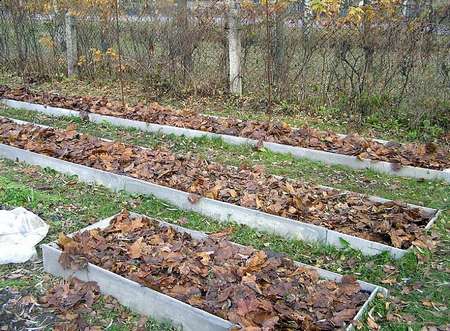
Such shelters greatly simplify our task.
Preparing clematis for winter is greatly simplified when there are such shelters in the garden as in the photo. Of course, not everyone can do this, but these boxes solve many problems. For example, it is not recommended to cover clematis ahead of time, before frost. You can prepare everything in advance and just leave the lid ajar.
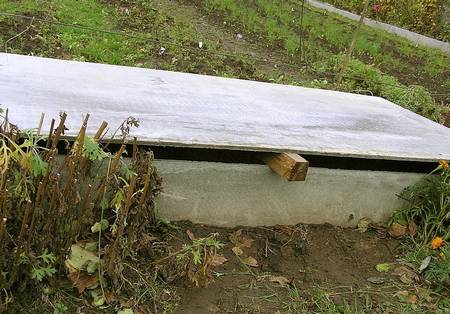
The shelter is ready for the winter, all that remains is to lower the lid.
I think you understand what you need to strive for.
Caring for clematis in winter
If you everything was done correctly and on time in the fall, then caring for plants in winter may not be necessary.
However, if the winter turns out to be frosty and with little snow, then throwing snow on the wintering bushes will not be superfluous. In warm winters and during thaws, check to see if the plants have been flooded with water. If this happens, then place boards under them, otherwise the shoots will then freeze into the ice.
In addition, there is always a danger that mice may live under the shelter. If signs of rodents appear, scatter poisoned bait. Mice are dangerous neighbors; they happily gnaw clematis shoots.
As you can see, caring for clematis in winter is not at all burdensome. You just need to prepare them well for the upcoming winter in the fall.And in winter you can relax, otherwise spring is just around the corner.
HERE ARE MORE INTERESTING ARTICLES

 (15 ratings, average: 4,27 out of 5)
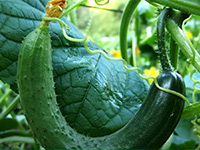 CUCUMBERS NEVER GET SICK, I'VE BEEN USING ONLY THIS FOR 40 YEARS! I SHARE A SECRET WITH YOU, CUCUMBERS ARE LIKE THE PICTURE!
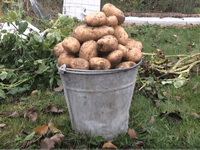 You can dig a bucket of potatoes from each bush. Do you think these are fairy tales? Watch the video
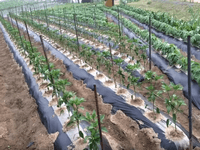 How our fellow gardeners work in Korea. There is a lot to learn and just fun to watch.
 Eye trainer. The author claims that with daily viewing, vision is restored. They don't charge money for views.
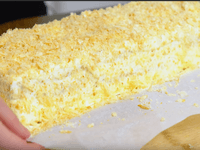 A 3-ingredient cake recipe in 30 minutes is better than Napoleon. Simple and very tasty.
 Therapeutic exercises for cervical osteochondrosis. A complete set of exercises.
 Which indoor plants match your zodiac sign?
 What about them? Excursion to German dachas.